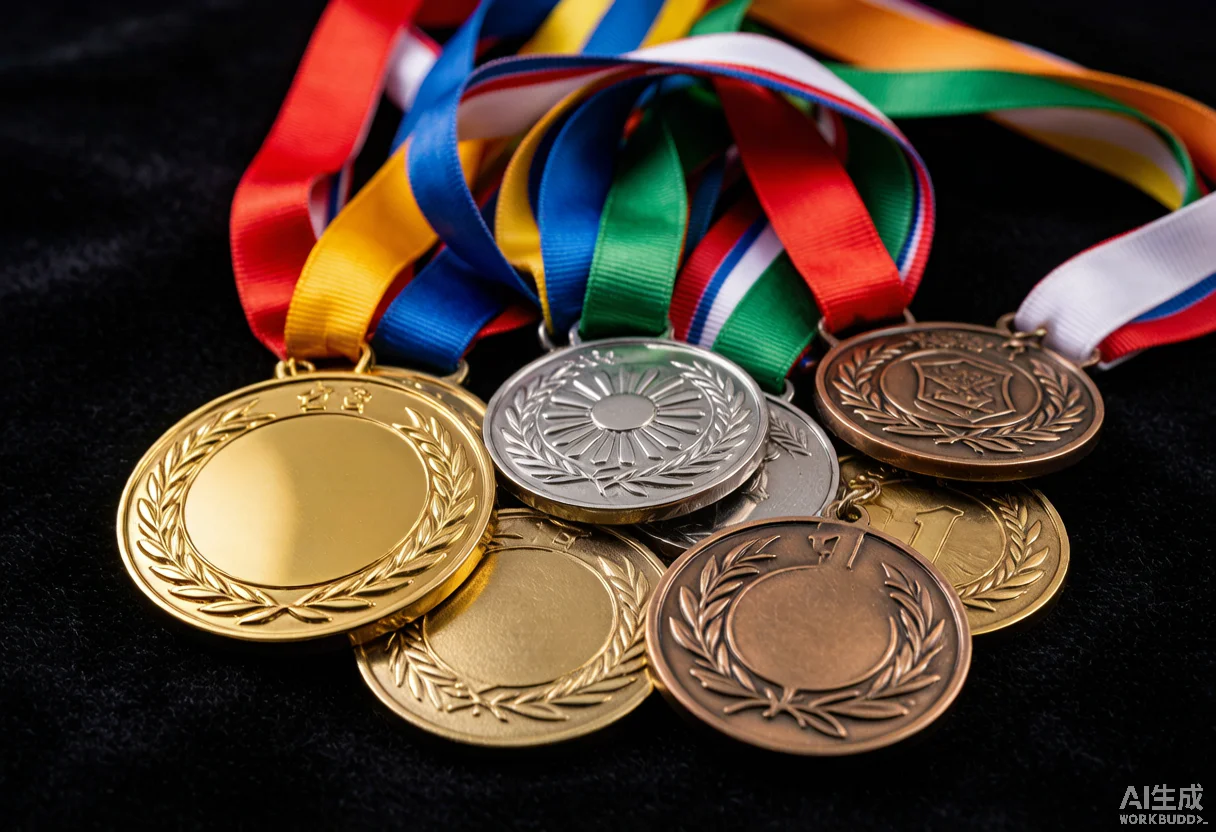
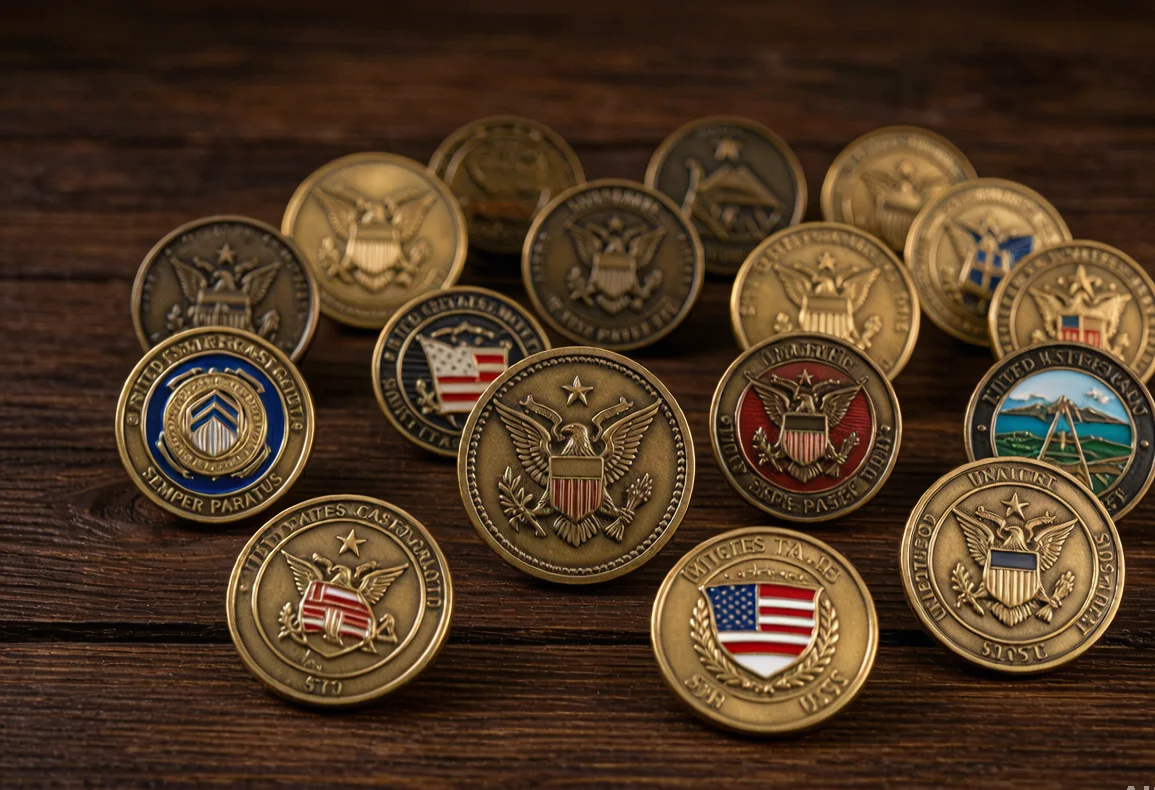
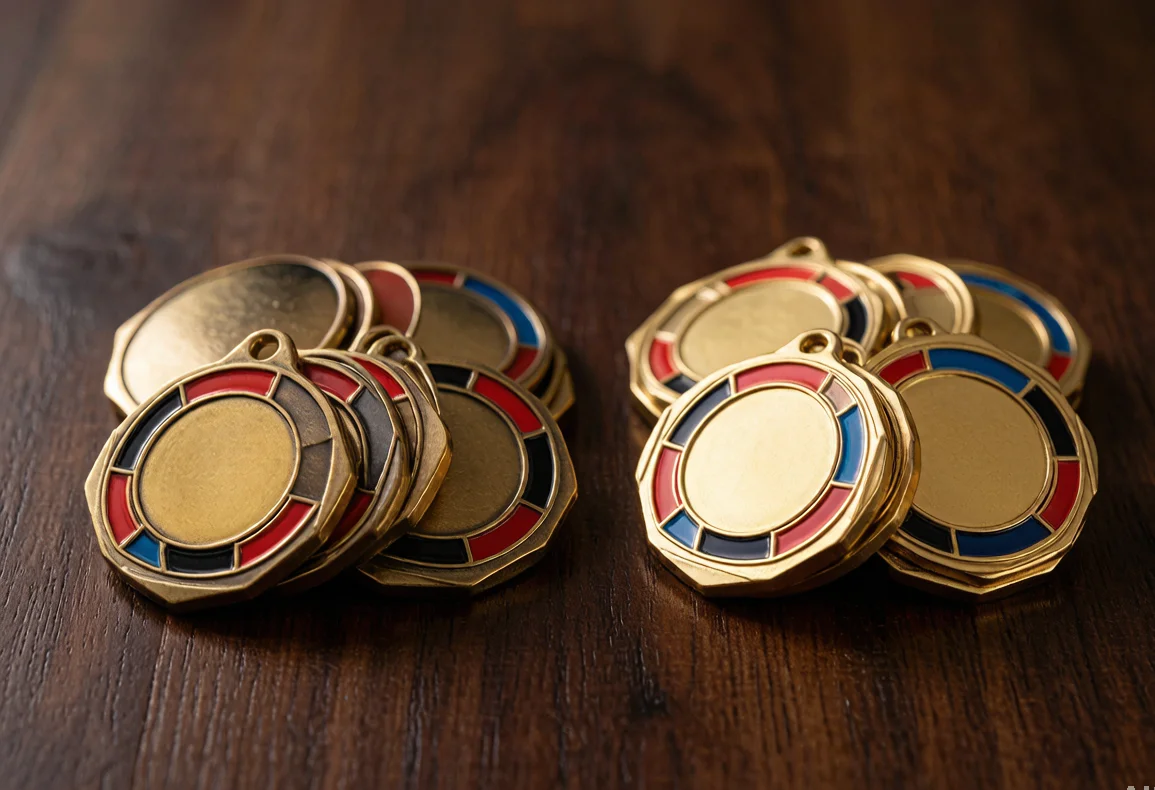
A custom badge is more than a piece of metal with a design stamped into it. It is a precision-engineered product that passes through multiple manufacturing stages — tooling fabrication, metal forming, surface treatment, enamel filling, and quality inspection — before it arrives ready to pin onto a uniform, jacket, or display board.
Whether you are sourcing enamel lapel pins for a corporate event, die struck badges for a law enforcement agency, PVC patches for outdoor gear, or embroidered emblems for tactical uniforms, understanding the manufacturing process helps you specify requirements accurately, evaluate supplier capabilities, and avoid costly quality surprises.
This guide breaks down every major badge manufacturing method, material, finishing option, and quality benchmark, with pricing data and procurement checklists you can use immediately in supplier conversations.
Types of Custom Badges
Badges fall into five primary categories based on manufacturing method and material. Each has distinct cost, durability, and aesthetic characteristics.
Die Struck Metal Badges — Solid metal blanks are struck between hardened steel dies under high pressure. The result is a crisp, detailed metal surface with a smooth, coin-like finish. No color is inherently part of the die struck process; designs rely on raised and recessed metal surfaces, with optional enamel fill. Best for: high-end corporate pins, military insignia, award badges.
Soft Enamel Badges — A die struck or die cast metal base with colored enamel applied into recessed areas and baked. The metal ridges remain slightly raised above the enamel, creating a textured, tactile surface. This is the most popular category for custom lapel pins and promotional badges. Best for: corporate giveaways, event souvenirs, team recognition pins.
Hard Enamel Badges (Cloisonné) — Multiple layers of enamel are filled, baked, and stone-polished completely flat until the surface is smooth like jewelry. The enamel sits flush with the metal borders. Premium appearance with excellent scratch resistance. Best for: executive gifts, luxury brand pins, commemorative collectibles.
Die Cast Badges — Molten zinc alloy is injected into a steel mold, allowing three-dimensional sculpted details at multiple relief levels. Can be plated and enameled like die struck badges but with richer dimensionality. Best for: 3D emblem badges, mascot pins, automotive and motorcycle emblems.
PVC and Rubber Badges — Flexible PVC or silicone molded into shape with injected colors. Lightweight, weatherproof, and suitable for outdoor gear. Best for: tactical patches, backpack accessories, outdoor brand merch.
Badge Manufacturing Methods in Detail
Die Struck Process
The die struck process is the gold standard for precision metal badges, producing results comparable to currency coinage.
Step 1 — Die Creation: A design is converted into a 3D relief model and engraved onto a hardened steel die using CNC machining or hand-engraving. A pair of dies (obverse and reverse) is required. Die cost: $150–$400 per design, depending on complexity and dimensions.
Step 2 — Blank Preparation: Metal sheets (brass, copper, or iron) are cut into blanks matching the die dimensions. Blank thickness typically ranges from 1.2mm to 2.0mm, with 1.6mm being the most common for lapel pins.
Step 3 — Striking: The blank is positioned between the two dies and struck with a hydraulic press at 150–400 tons of pressure. The extreme force compresses the metal, flowing it into every crevice of the die and creating sharp, detailed relief. Multiple strikes may be required for deep-relief designs.
Step 4 — Trimming: Excess metal around the badge perimeter is trimmed away using a cutting die, producing the final badge outline — round, shield, custom cut-to-shape, or any other profile.
Step 5 — Attachment: The pin back (butterfly clutch, magnetic backing, safety pin, or screw post) is soldered or welded to the reverse side.
Step 6 — Plating and Finishing: The badge undergoes electroplating (gold, silver, nickel, copper, black nickel) or antiquing to achieve the desired surface appearance.
Die Cast Process
Die casting is ideal for badges requiring deep 3D relief and variable thickness across the design.
Step 1 — Mold Making: A steel mold is CNC-machined from a 3D CAD model. Mold cost is typically 20–40% higher than die struck dies due to the complexity of multi-level cavity geometry.
Step 2 — Injection: Molten zinc alloy (Zamak, approximately 400°C) is injected into the mold under high pressure. The metal fills every cavity and cools within seconds.
Step 3 — Ejection and Deburring: The cast piece is ejected and any sprue, runners, or flash are removed by hand filing or vibratory tumbling.
Step 4 — Polishing: The raw casting is polished to a smooth surface ready for plating.
Step 5 — Plating and Enameling: Same finishing steps as die struck badges, with the added benefit that sculpted relief areas can be selectively plated or enameled for dramatic visual contrast.
Soft Enamel vs. Hard Enamel
| Attribute | Soft Enamel | Hard Enamel |
|---|---|---|
| Surface texture | Slightly textured (metal ridges above enamel) | Completely flat and smooth |
| Production steps | 1–2 enamel fills + baking | 3–5 enamel fills + baking + stone polishing |
| Durability | Good — enamel resists scratching | Excellent — enamel flush with metal border |
| Color vibrancy | High — single coat provides vivid color | High — multiple layers deepen color richness |
| Production time | Standard (shorter cycle) | +3–5 extra days |
| Cost premium | Baseline | +20–40% over soft enamel |
| Best for | Promotional pins, event badges, team recognition | Executive gifts, luxury brand pins, collectibles |
Hard enamel badges have a distinctly premium feel — running a finger across the surface, you feel nothing but glass-smooth enamel and polished metal, with no ridges or texture. This jewelry-grade finish makes them the preferred choice for high-value corporate gifts and commemorative pieces.
PVC Badge Manufacturing
PVC badges follow an entirely different process from metal badges: soft PVC material is mixed with color pigments, injected into silicone molds, heated to cure, and demolded. Multi-color designs use separate mold cavities for each color, registered to align precisely. Epoxy dome coating on the surface adds gloss and scratch protection.
| Material | Weight | Weather Resist. | Thickness | Cost Position |
|---|---|---|---|---|
| Brass | Heavy (35–45g for 30mm) | Excellent with plating | 1.2–2.0mm | Premium |
| Zinc Alloy | Medium (25–35g for 30mm) | Very good with plating | 1.5–2.5mm | Standard |
| Copper | Heavy | Excellent with patina | 1.2–2.0mm | Premium |
| Iron | Heavy | Requires plating to prevent rust | 1.5–2.0mm | Budget |
| Stainless Steel | Heavy | Excellent (corrosion resistant) | 1.0–1.5mm | Premium |
| PVC (Soft) | Light (5–10g) | Excellent (UV and water resistant) | 2.0–4.0mm | Budget to mid-range |
Material Selection Guide
Brass — The benchmark material for premium custom badges. Excellent die striking characteristics, takes plating beautifully, develops a desirable natural patina with age. Heavier than zinc alloy, adding perceived value. Typical composition: 65% copper, 35% zinc (C26000 cartridge brass).
Zinc Alloy (Zamak) — The workhorse of die cast badge production. Excellent fluidity when molten allows intricate 3D details. Lighter than brass, reducing shipping costs on bulk orders. Zamak 3 (96% zinc, 4% aluminum) is the standard grade for badge manufacturing.
Iron — The most economical base metal. Heavier than zinc alloy, which can be advantageous for budget orders where weight is perceived as quality. Requires thorough plating to prevent oxidation. Common applications: promotional giveaways, large-quantity event pins.
Stainless Steel — Premium material with inherent corrosion resistance. Harder to die strike than brass or copper, requiring more powerful press equipment. Ideal for outdoor or marine-environment badges where rust is a concern. Material cost is 15–25% higher than brass.
PVC and Silicone — Flexible, waterproof, and virtually unbreakable. 2D designs are most common; 3D PVC badges are possible with multi-layer molds. UV-resistant formulations available for outdoor applications.
Plating and Surface Finishes
| Finish | Process | Appearance | Durability | Cost Factor |
|---|---|---|---|---|
| Polished Gold | Electroplating + polishing | Bright, reflective gold | Very good | Standard |
| Antique Gold | Plating + chemical darkening | Muted gold with dark recesses | Very good | +5–10% |
| Polished Silver | Electroplating + polishing | Bright mirror silver | Good | Standard |
| Antique Silver | Plating + chemical darkening | Weathered silver effect | Very good | +5–10% |
| Nickel | Electroplating | Cool grey, matte or polished | Excellent | Standard |
| Black Nickel | Electroplating | Dark gunmetal grey | Excellent | +10–15% |
| Copper | Electroplating | Warm reddish-brown | Good (may tarnish) | Standard |
| Antique Copper | Plating + chemical darkening | Rich brown patina | Very good | +5–10% |
| Dye-Black (Gunmetal) | Electroplating + dye | Deep black | Good | +10–15% |
| Dual Plating | Two selective plating processes | Multi-tone contrast | Good | +20–30% |
Antique finishes are the most popular choice for badges with fine detail because the darkened recesses enhance contrast and make fine text and line work clearly legible. Polished finishes are preferred for corporate identity badges where a clean, modern look is required.
Color Application Methods
Soft Enamel (Air-Dry/Bake) — Liquid enamel is dispensed into recessed areas using a syringe or automated filling machine. After filling, the badge is baked at 120–160°C for 15–20 minutes to cure the enamel. A single fill cycle is standard; additional fills may be needed for deep recesses. The cured enamel sits slightly below the metal ridge lines, creating the characteristic textured feel.
Hard Enamel (Cloisonné) — After each layer of enamel is baked, the surface is ground flat using a stone wheel or diamond abrasive pad. This process is repeated 3–5 times until the enamel and metal borders form a completely flush surface. Final polishing with jeweler’s rouge produces a mirror-smooth finish.
Screen Printing — For badges requiring photographic gradients or very fine text impossible with enamel filling, screen printing applies ink directly to the metal surface. A clear epoxy coating is then applied for protection. Less durable than enamel (ink can wear with heavy handling) but enables full-color designs at lower cost.
Epoxy Dome Coating — A clear resin dome is applied to the badge surface, creating a glossy, magnifying lens effect. Adds approximately $0.05–$0.15 per piece. Protects underlying enamel or printing from scratches and UV fading.
| Method | Durability | Detail Level | Cost | Best For |
|---|---|---|---|---|
| Soft Enamel | Good | Fine detail, some texture | $ | Bulk promotional pins |
| Hard Enamel | Excellent | Fine detail, smooth finish | $$$ | Premium corporate gifts |
| Screen Print + Epoxy | Moderate | Photographic gradients | $ | Full-color photo pins |
| Die Struck Only (No Color) | Excellent | Metal relief only | $ | Classic, formal badges |
Attachment and Backing Options
Badge attachment method affects both user experience and production cost. Specifying the correct backing upfront avoids expensive rework.
| Attachment Type | Description | Best For | Relative Cost |
|---|---|---|---|
| Butterfly Clutch | Metal clutch with spring-loaded wings | Standard lapel pins, most common | Baseline |
| Rubber Clutch | Soft rubber friction-fit backing | Easy on/off, comfortable wear | Same as butterfly |
| Magnetic Backing | Strong neodymium magnet + metal back plate | Delicate fabrics, no-pin-hole requirement | +$0.20–$0.40 each |
| Safety Pin | Traditional pin with locking clasp | Heavy badges, outdoor use | +$0.10–$0.20 each |
| Bar Pin | Horizontal bar with hinge and rotating clutch | Uniform badges, name tags | +$0.15–$0.30 each |
| Screw Post + Nut | Threaded post with nut fastening | Permanent attachment, security badges | +$0.20–$0.35 each |
| Self-Adhesive | Peel-and-stick backing | One-time application, low cost | Lowest cost |
| Keychain Ring | Jump ring + split ring attached | Convert badge to keychain | +$0.10–$0.20 each |
| Alligator Clip | Spring-loaded clip back | ID badge holders, fabric attachment | +$0.15–$0.25 each |
Magnetic backings use neodymium magnets rated at N35–N52 strength. For badges over 30mm diameter or weighing more than 20g, a minimum N45 magnet is recommended to prevent the badge from sliding off thicker fabrics like jacket lapels. Two-magnet configurations provide additional holding force for heavy badges.
Production Timeline
| Stage | Duration | Notes |
|---|---|---|
| Artwork review and die/mold design | 3–5 days | Includes 3D relief modeling if required |
| Die or mold fabrication (CNC) | 5–8 days | Complexity-dependent; 3D molds take longer |
| Sample production | 3–5 days | Pre-production samples for client approval |
| Mass production (1,000 pieces) | 8–12 days | Depends on enamel fill complexity |
| Electroplating | 1–2 days | Batched with other orders |
| Quality inspection (AQL) | 2–3 days | Random sampling per ANSI/ASQ Z1.4 |
| Packaging | 2–3 days | Individual polybag or custom box |
| Air freight | 5–7 days | Door-to-door courier service |
| Total standard lead time | 29–45 days |
Rush production can compress the total timeline to 16–20 days with a 15–25% surcharge, achieved by prioritizing die fabrication, running production on a dedicated line, and using express courier services.
Pricing Benchmarks
All prices are per-unit FOB China, inclusive of mold amortization at 1,000-piece order quantity.
| Specification | Qty 100 | Qty 500 | Qty 1,000 | Qty 5,000 |
|---|---|---|---|---|
| Soft Enamel · 25mm · Zinc Alloy · Gold | $1.20–$2.50 | $0.80–$1.60 | $0.60–$1.20 | $0.40–$0.80 |
| Soft Enamel · 30mm · Brass · Antique Gold | $1.80–$3.50 | $1.20–$2.20 | $0.90–$1.70 | $0.60–$1.10 |
| Hard Enamel · 25mm · Zinc Alloy · Gold | $2.00–$3.80 | $1.40–$2.50 | $1.00–$1.80 | $0.70–$1.20 |
| Hard Enamel · 30mm · Brass · Antique Silver | $2.80–$5.00 | $1.80–$3.20 | $1.30–$2.40 | $0.90–$1.60 |
| Die Struck (No Color) · 25mm · Brass · Polished Gold | $1.00–$2.00 | $0.65–$1.20 | $0.50–$0.90 | $0.30–$0.60 |
| PVC Badge (2D) · 50mm · Soft PVC | $0.60–$1.20 | $0.40–$0.80 | $0.30–$0.60 | $0.20–$0.40 |
| PVC Badge (3D) · 50mm · Soft PVC | $1.00–$2.00 | $0.70–$1.30 | $0.50–$0.90 | $0.35–$0.65 |
| Die Cast 3D · 30mm · Zinc Alloy · Nickel | $2.20–$4.00 | $1.50–$2.70 | $1.10–$2.00 | $0.75–$1.30 |
Mold and die costs are typically separate from unit pricing:
- Die struck die (stamping die pair): $150–$350
- Die cast mold (zinc injection mold): $250–$500
- PVC mold (silicone mold): $100–$250
- 3D sculpted mold (CNC with multi-level cavity): $350–$600
Mold fees are one-time charges. Most manufacturers retain molds for 2–3 years, allowing reorders at unit cost only, provided the mold remains usable and has not exceeded its production cycle life (typically 50,000–100,000 impressions for die cast molds, higher for die struck dies).
Design Specifications and Artwork Requirements
Submitting production-ready artwork avoids delays at the very first stage.
Vector files are mandatory. Adobe Illustrator (.ai), CorelDRAW (.cdr), or EPS format. Raster images (JPEG, PNG, TIFF) cannot be used for die or mold creation. If your artwork is in raster format, request vector conversion from your supplier — this typically costs $25–$50.
Pantone color codes. Specify the exact Pantone Solid Coated number for each color in your design. Without this, manufacturers match colors by visual approximation, and results will vary.
Metal vs. enamel layer separation. Provide a black-and-white separation file: black indicates areas that receive enamel (or remain bare metal for die struck badges), white indicates metal surface to be plated. This is the file that guides the die engraver and enamel filling team.
Line thickness minimums. Lines thinner than 0.3mm risk failing to stamp clearly or filling with unintended enamel bleed. Text at 6pt or below is at risk of illegibility. Keep critical design elements above these thresholds. Your supplier’s pre-production artwork review will flag any at-risk areas.
Cut-to-shape outlines. If your badge is not round or rectangular, provide a clear cut line (a separate layer in your vector file). Extremely thin or protruding elements (under 1.5mm width) may be structurally fragile and require design modification.
3D relief map (for die cast only). For dimensional badges, provide a height map showing the relative elevation of each design element. This tells the CNC engraver how deep to cut each cavity level in the mold.
Quality Control Standards
A professional badge manufacturer should provide documentation at three stages.
Pre-Production (Artwork Proof)
The most critical QC step. A digital proof shows exact dimensions, color placement, metal/enamel zones, and attachment position. Errors caught here cost nothing to fix. Review carefully: check that all text is spelled correctly, colors match your Pantone selections, and the attachment type is specified.
In-Process (First Article Inspection)
After mold/die completion and before mass production, the manufacturer produces 3–5 pre-production samples. These are the actual finished badges you would receive. Evaluate:
- Weight in hand — does it feel substantial or cheap?
- Plating uniformity under 5000K daylight lighting — any patchiness, discoloration, or thin spots?
- Enamel fill quality — air bubbles, pinholes, color bleed across metal borders, uneven fill depth?
- Edge finish — sharp burrs, rough spots, uneven trimming?
- Attachment functionality — does the clutch grip securely? Does the magnet hold firmly?
- Fine detail clarity — are the smallest text and lines legible?
Final Inspection (AQL Sampling)
Per ANSI/ASQ Z1.4 standard, AQL 2.5 level II sampling. For a 1,000-piece order, the inspector randomly selects 80 pieces and evaluates:
| Check Point | Acceptable Rate | Common Issues |
|---|---|---|
| Dimensional accuracy | ±0.2mm | Oversized/undersized badges |
| Plating uniformity | <2% with visible defects | Plating thin spots, color inconsistency |
| Enamel fill | <2% with fill defects | Air bubbles, overflow, incomplete fill |
| Color matching (Pantone) | Within one shade tolerance | Incorrect color mix |
| Attachment security | <1% functional failure | Loose clutch, weak magnet |
| Edge finishing | <2% with sharp edges or burrs | Cutting die wear |
| Surface scratches | <2% with visible scratches | Handling during assembly |
| Packaging integrity | <1% damaged packaging | Individual bag tears |
If the defect rate exceeds AQL 2.5 limits, the batch is rejected and rework or reproduction is required before shipment.
Common Procurement Pitfalls
Skipping the pre-production sample. A digital artwork proof cannot convey plating quality, enamel smoothness, or how the badge feels in hand. Pre-production samples cost $30–$60 including courier and save thousands in potential rework or rejection. This is the highest-ROI step in the entire procurement process.
Submitting raster artwork. Vector files are non-negotiable for die and mold creation. If you only have a JPEG or PNG, budget for vector conversion before engaging manufacturers.
Not specifying Pantone codes. Saying “navy blue” or “forest green” is not specific enough. Navy blue could be Pantone 2767 C (near-black) or Pantone 288 C (bright navy). Without a code, the manufacturer guesses.
Underestimating lead time. First-time buyers often plan for 30 days and receive badges in 45. Always build buffer into your timeline: artwork revisions (5 days), sample approval and courier (7 days), production (12 days), and customs clearance (5 days). A 50-day plan is safer than a 30-day plan.
Comparing quotations on unit price alone. A lower per-unit price often hides a higher mold fee, excludes packaging, or uses thinner plating. Always request itemized quotations showing mold cost, production unit cost, attachment cost, packaging cost, and shipping as separate line items.
Overlooking import duties and compliance. Badges shipped to the EU require REACH and RoHS compliance documentation for metal content and plating chemicals. US-bound shipments are generally duty-free under HTS 7117.19.9000 (imitation jewelry, base metal) but confirm the specific HS code with your customs broker.
Step-by-Step Ordering Process
- Finalize artwork — Vector file with Pantone colors, metal/enamel separation layer, cut line, and attachment specification
- Request quotations — Contact 3–5 manufacturers with identical specifications for comparable itemized quotes
- Compare line by line — Mold cost, unit price at your quantity, attachment type, packaging, shipping terms
- Order pre-production samples — From your top 2–3 suppliers; evaluate plating, enamel, weight, and attachment function
- Select supplier — Based on sample quality, communication responsiveness, and total cost
- Issue purchase order — Written agreement covering specifications, quantity, timeline, QC checkpoints, packaging requirements, and payment terms (typically 30% deposit, 70% before shipment)
- Review in-process photos — Request photos at mold completion, first plating batch, and first enamel fill batch
- Approve AQL report — Review final inspection report with photographs before authorizing balance payment and shipment
- Receive and inspect — Conduct your own spot check upon delivery; compare against approved pre-production sample
FAQ
What is the minimum order quantity for custom badges?
Most manufacturers require 100 pieces per design as the minimum order. Some accept 50 pieces with a mold surcharge of $30–$50. Below 50 pieces, unit costs rise steeply because the mold fee is amortized across very few units. For ultra-small runs (10–25 pieces), expect to pay 3–5× the standard unit price.
How much do custom enamel badges cost?
A standard 25mm zinc alloy soft enamel badge with 4–5 colors and gold plating costs approximately $0.60–$1.20 per unit at 1,000 pieces. Hard enamel adds 20–40%. Brass adds 25–50%. Mold fees are separate, typically $150–$350 for die struck molds and $250–$500 for die cast molds.
How long does badge production take?
Standard production timeline is 4–6 weeks from artwork approval to delivery. Breakdown: die/mold fabrication (5–8 days), sample production (3–5 days), mass production (8–12 days for 1,000 pieces), QC inspection (2–3 days), packaging (2–3 days), shipping (5–7 days). Rush orders can compress to 16–20 days with a 15–25% surcharge.
What file format should I provide for badge design?
Vector files only: Adobe Illustrator (.ai), CorelDRAW (.cdr), or EPS. Include Pantone color codes, a metal/enamel separation layer, and a cut-to-shape outline. Raster images (JPEG, PNG) are not usable for die or mold fabrication and require vector conversion first.
What is the difference between soft enamel and hard enamel badges?
Soft enamel: the enamel sits slightly below metal ridge lines, creating a textured surface you can feel. Faster production, lower cost. Hard enamel (cloisonné): the enamel is filled, baked, and polished in multiple cycles until the surface is completely flat and smooth. Premium jewelry-like finish, higher cost, 3–5 extra production days.
Can I get samples before placing a bulk order?
Yes, and this is strongly recommended. Pre-production samples cost $30–$60 including international courier delivery. The sample is an actual finished badge made with your mold, allowing you to verify weight, plating quality, enamel fill, edge finish, and attachment function before committing to full production.
What attachment options are available for badges?
Butterfly clutch (most common, spring-loaded metal wings), rubber clutch (soft, comfortable), magnetic backing (neodymium magnets, no fabric damage), safety pin (locking clasp, heavy-duty), bar pin (uniform badges), screw post and nut (permanent attachment), self-adhesive (one-time use), keychain ring (converts badge to keychain), and alligator clip (ID holders).
Are custom badge molds reusable for reorders?
Yes. Most manufacturers retain molds for 2–3 years at no storage cost. Reorders using the existing mold require only unit production cost — no additional mold fee. Confirm mold retention policy with your supplier before placing the initial order. Die struck dies have a longer service life (100,000+ impressions) than die cast molds (50,000–100,000 impressions).
Can badges be produced in custom shapes?
Yes. Any vector outline can be cut-to-shape using a trimming die after stamping. Design elements that are extremely thin or protrude (below 1.5mm width) may be structurally weak and require design adjustment. The manufacturer’s artwork review will flag manufacturability concerns.
What certifications should a badge manufacturer have?
ISO 9001 for quality management systems. For EU orders: REACH and RoHS compliance for metal alloys and electroplating chemicals. For children’s products (badges marketed to children under 12): EN 71 or ASTM F963 safety certification. California Proposition 65 compliance may be required for US-bound products containing nickel or lead in plating.
Why Choose Yichi for Custom Badge Manufacturing
Yichi Crafts Factory brings over a decade of metal badge and enamel pin manufacturing expertise to every project. Our in-house die striking and die casting lines, combined with a dedicated electroplating workshop, mean your badges move through a single integrated production chain — no subcontracting, no quality gaps between processes.
Our engineering team reviews every artwork file for manufacturability before production begins, identifying potential issues with line thickness, color registration, and structural integrity that could compromise the finished product. Pre-production samples are standard on every order, and AQL 2.5 inspection reports with photographs are provided before shipment at no additional cost.
With a minimum order quantity of 10 pieces, we serve both small-batch custom projects and large-volume institutional orders with equal attention to detail. Contact us at sales@yichite.com with your badge design concept for a free feasibility review, material recommendation, and production timeline estimate.
Conclusion
A custom badge is a small object that carries outsized meaning — representing brand identity, organizational membership, achievement, or commemoration. Its quality directly reflects on the organization that commissions it.
Understanding the manufacturing process — whether die struck, die cast, soft enamel, or hard enamel — empowers you to specify requirements precisely, evaluate supplier quotations knowledgeably, and recognize quality when you see it. The difference between a badge that feels premium and one that feels disposable often comes down to material choice (brass vs. zinc vs. iron), enamel process (hard vs. soft), plating thickness, and attachment quality — all factors within your control as a buyer.
If you are sourcing custom badges for your organization, event, or brand, reach out with your design concept. Our team can provide a technical feasibility assessment and production plan at no cost.